St Patrick's Day Badge
Make your own St Patrick's Day badge to wear when you look at the parade!
Method:
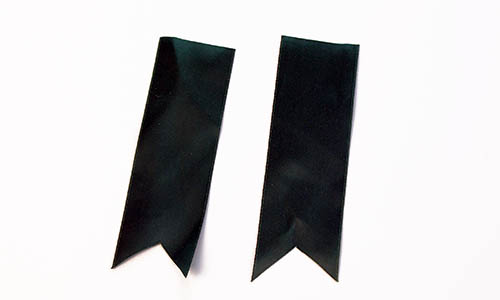
You will find templates for all the parts to use at the bottom of the page. Print and cut the shapes out. Cut two pieces of green ribbon (or paper) approximately 5" (12cm) long. Cut an inverted V into one end.
Cut a small round shape for the center of the badge. See samples below. Also, cut out a small shamrock or nice button to place on top of the circle.

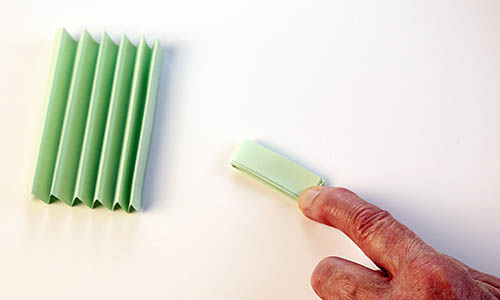
Cut out the two larger pieces of green paper and fold into a concertina shape, as seen below. Start at the short end and make the folds about 1/2" wide.
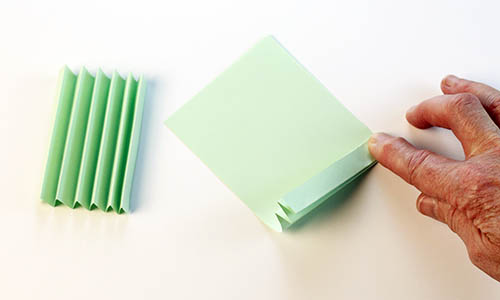
Fold each piece in half.
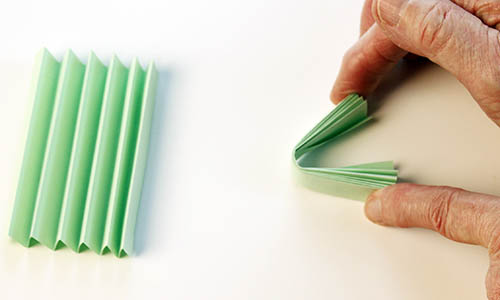
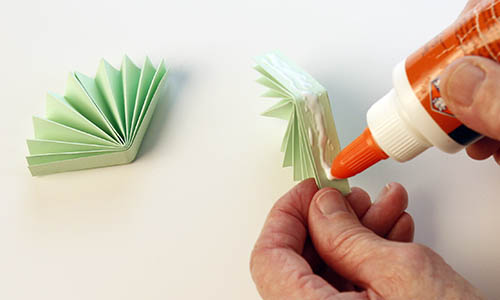
Glue one side.
Press the two sides together, hold for a minute until it is set.
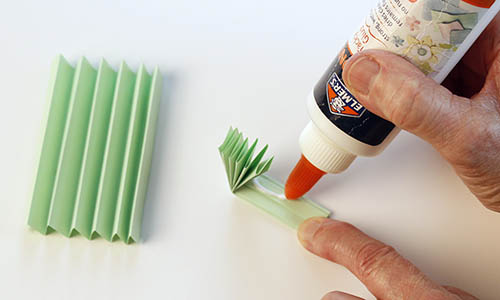
Glue the whole side of the opened shape.
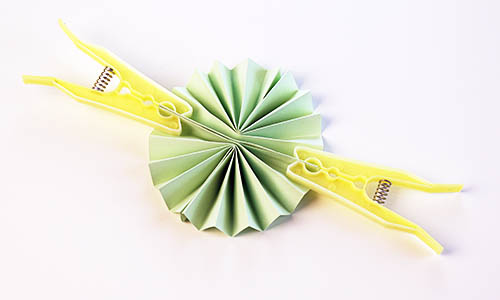
Stick the two halves together. It helps if you have a clothes peg to hold it until it has set well.
Glue the two pieces of ribbon together at an angle and then glue them to the back of the badge. Cut around paper shape slightly smaller than the badge and tape a safety pin in the middle. Glue this to the back of the badge on top of the ribbons.
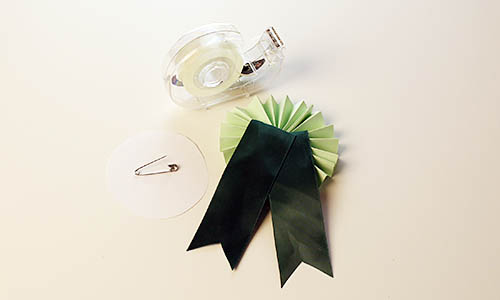
Add the small shamrock or green button to the small circle and glue it to the front of the badge
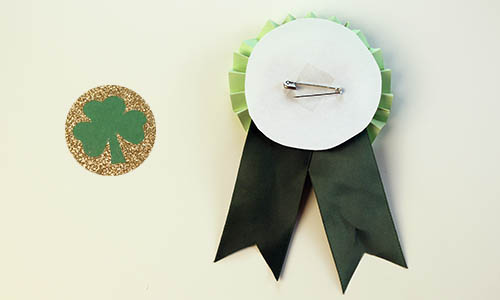
And there you have it. Your own St Patrick's Day badge!
Click here for more St Patrick's Day crafts.